

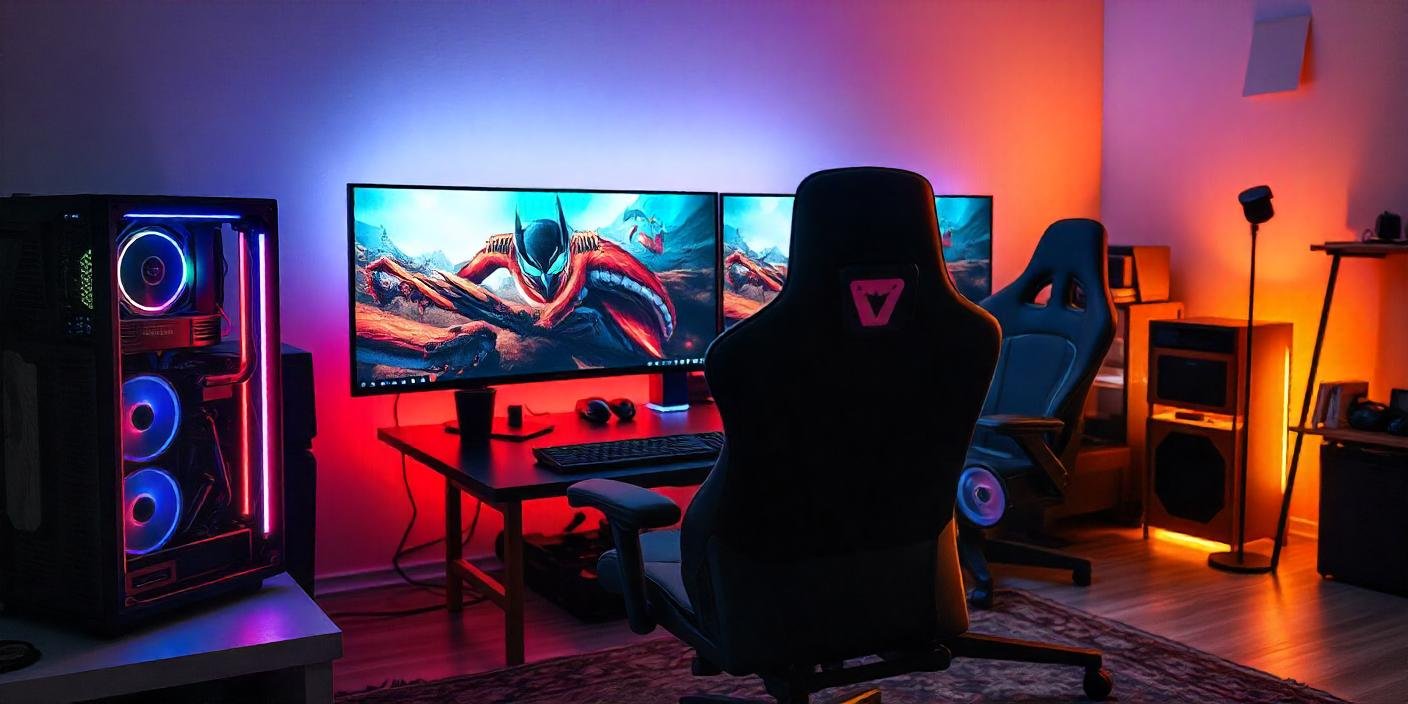
Most gaming rooms fail for the same reason. People buy gear first and plan later. The result is a pile of expensive hardware in a space that still feels wrong.
A real gaming room is a system. Power, layout, lighting, acoustics, and furniture all work together. Get one wrong and the rest suffers. Here’s how to build it properly, in the right order.
Start With the Space, Not the Gear
Before buying anything, measure your room. You need at least 8 feet by 10 feet for a single-station setup with room to move. Anything smaller forces compromises on desk depth and screen distance.
Check your electrical outlets. A gaming PC, monitor, speakers, console, and lighting rig can pull more than a single circuit is rated for. Older homes often have one 15-amp circuit per room. Run the math before you plug in four devices and trip a breaker mid-session.
Also check your internet drop point. Wired ethernet beats Wi-Fi for online play every time. If the router isn’t in the room, plan for a cable run or a powerline adapter now, not after the desk is bolted to the wall.
According to the Entertainment Software Association’s 2025 Essential Facts report, 83% of U.S. households played games on at least one device in the last 12 months, and PC gaming was used by 54% of them. That’s a lot of setups sharing the same home network. If other people in your house stream or game at the same time, budget for higher bandwidth or a dedicated line, and get the room’s lighting locked in early with custom neon lights so you’re not rewiring the wall after the furniture is in.
Build the Right Foundation
Your desk and chair decide how long you can actually play. A cheap chair will cost you comfort within an hour. Look for:
- Adjustable lumbar support
- Seat height that lets your feet sit flat on the floor
- Armrests that match your desk height
- A weight rating that fits your body comfortably, not just barely
For desks, depth matters more than width. A 30-inch depth gives your monitor enough distance from your eyes. Anything shallower forces you to sit too close, which strains your neck over long sessions.
Cable management isn’t optional at this stage. Route power and data cables through a tray or sleeve before you finalize furniture placement. Doing it after everything is set up means unplugging half your rig to fix it later.
Get the Display and Audio Right
For competitive gaming, refresh rate matters more than resolution. A 144Hz or 240Hz monitor at 1080p or 1440p will feel smoother than a 4K screen running at 60Hz. For single-player and story-driven games, 4K at 60Hz or higher is worth the investment if your GPU can push it.
Match your monitor size to your desk depth. A 27-inch monitor needs about 24 to 32 inches of viewing distance. Go bigger and you’ll need to sit further back, which eats into your desk space.
For audio, a simple 2.1 speaker setup beats a cheap 5.1 system in a small room. Surround sound needs actual room volume to work correctly. In a tight space, the extra channels just create echo and confusion instead of immersion. Headphones remain the most reliable option for accurate positional audio in any room size.
Handle Acoustics and Noise
Hard walls and bare floors bounce sound around and make your room noisy for anyone nearby. A rug under your desk area cuts down on echo and reduces vibration transfer to floors below.
If you’re on calls or streaming, foam acoustic panels on two adjacent walls will cut reflections without making the room feel dead. You don’t need a full studio treatment. Two or three panels near your microphone position solves most of the problem.
Lighting That Actually Works
Lighting shapes the room’s mood and reduces eye strain. A single overhead light creates harsh shadows on your screen. Bias lighting behind your monitor, set to match your screen’s white balance, reduces contrast strain during long sessions.
Ambient lighting around the room, like strip lights along a desk edge or wall, adds depth without glare. This is where custom neon lights work well. Unlike generic LED strips, they hold a shape and color that fits your setup’s theme instead of looking like an afterthought.
Keep brightness controls within reach. A dimmer switch or app-controlled system lets you adjust for daytime versus nighttime sessions without getting up.
Final Setup Checklist
Before you call the room finished, run through this:
- All cables routed and secured, none crossing walking paths
- Chair height matches desk height for a 90-degree elbow angle
- Monitor top edge at or slightly below eye level
- Router or ethernet line tested for actual speed, not advertised speed
- Lighting set for both daytime and nighttime use
- Backup power or surge protection on all major components
A gaming room built in this order holds up over time. One built by buying gear first usually needs a redo within a year. Plan the system, then fill it in.
